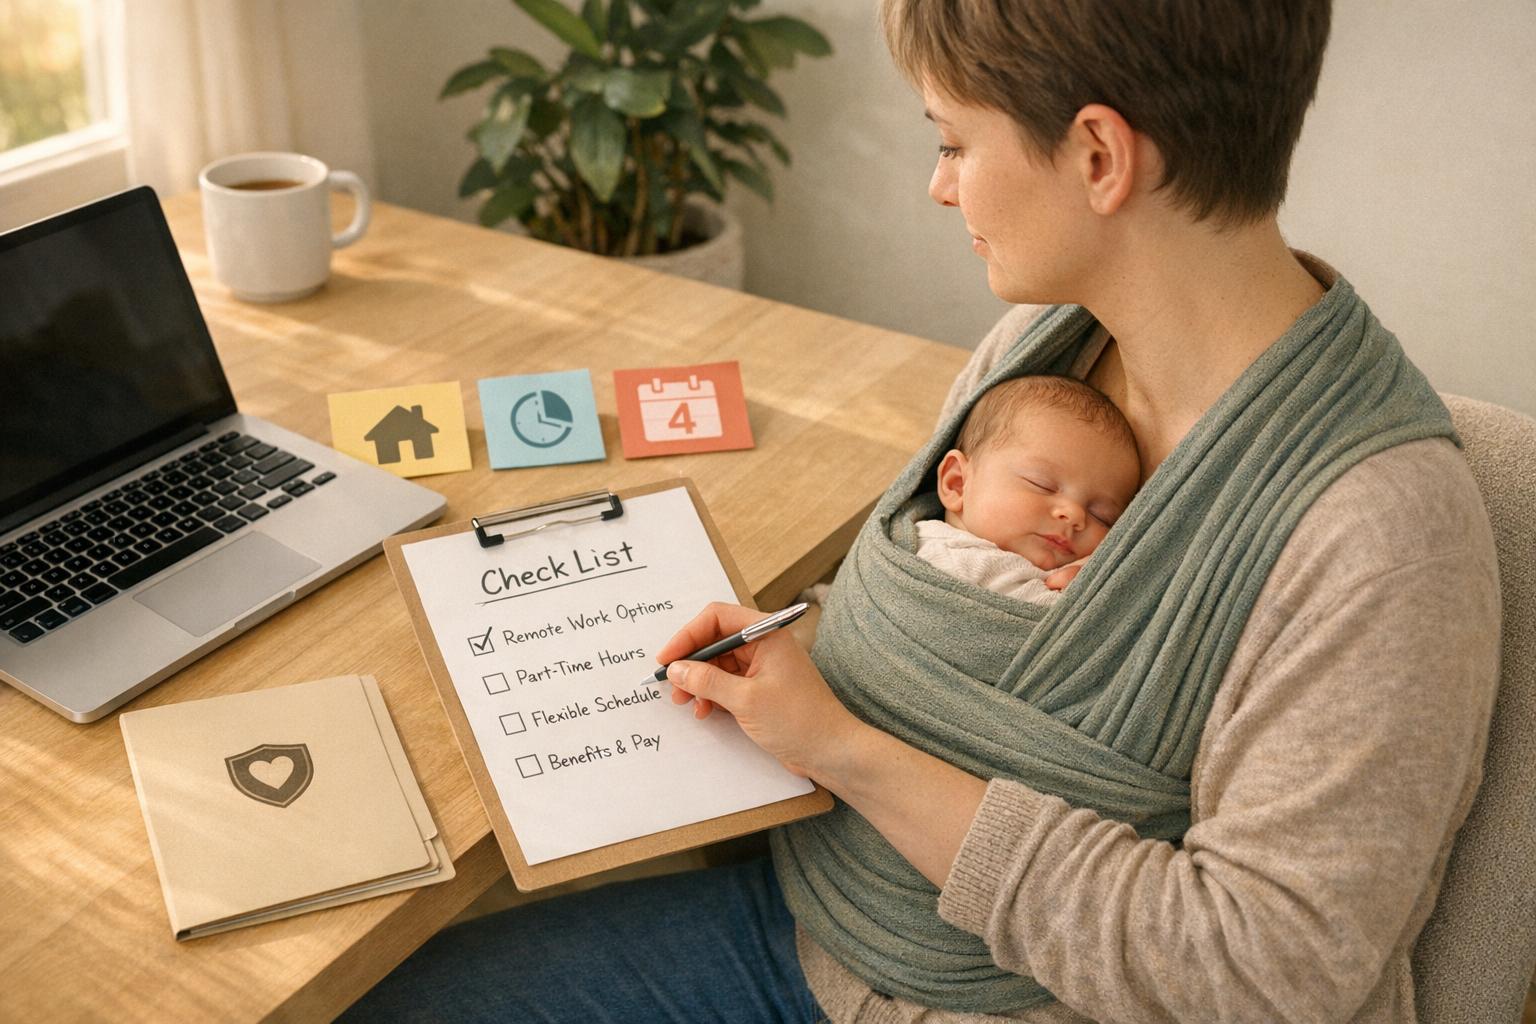
5 Pelvic Floor Strength Exercises Postpartum
5 Pelvic Floor Strength Exercises Postpartum
Childbirth weakens your pelvic floor, but recovery exercises can help. Here's a quick guide to five postpartum exercises that rebuild strength, ease incontinence, and improve core stability:
- Diaphragmatic Breathing: Start within days of delivery (if no complications). Helps reconnect pelvic floor and core muscles.
- Kegels + Transverse Abdominis Activation: Begin a few weeks postpartum to strengthen deep core muscles.
- Ball Squeeze: Introduce at 6 weeks postpartum to target inner thighs and pelvic floor.
- Glute Bridges: Safe after 6 weeks; strengthens pelvic floor and glutes.
- Bird Dog: Start after clearance from your provider to improve core and pelvic coordination.
Recovery takes patience - full strength may take 6–12 months. Always listen to your body and seek professional guidance if needed. Ready to rebuild? Let’s dive into each exercise.
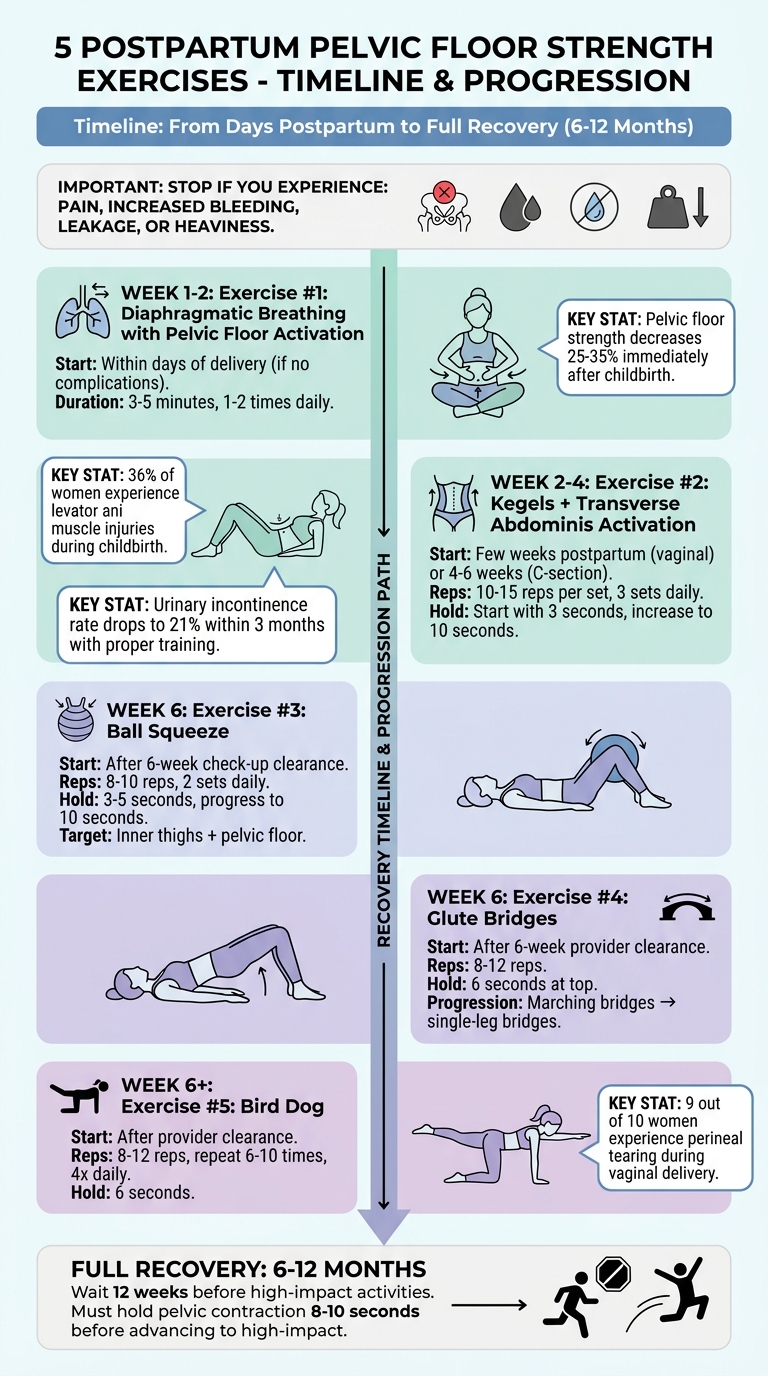
5 Postpartum Pelvic Floor Exercises Timeline and Progression Guide
1. Diaphragmatic Breathing with Pelvic Floor Activation
Safety for Postpartum Recovery
Diaphragmatic breathing is a gentle way to start rebuilding strength after childbirth. If you had an uncomplicated birth, you can typically begin this practice within a few days to promote blood flow and reduce swelling. This type of breathing also improves circulation to the perineal area, which can aid in healing tissues and stitches. However, if you had an instrumental delivery, significant tearing, or a C-section, it’s best to wait until your stitches soften or after your six-week check-up before starting.
This exercise isn’t just safe - it’s an essential step in restoring muscle function.
Effectiveness in Strengthening the Pelvic Floor
Diaphragmatic breathing helps reestablish the connection between the diaphragm, deep abdominal muscles, and pelvic floor. When you inhale, the pelvic floor naturally lengthens and relaxes. On exhalation, it contracts and gently lifts. This rhythmic coordination prepares your body for more advanced core exercises and day-to-day activities. Considering pelvic floor strength can decrease by 25% to 35% immediately after childbirth compared to pre-pregnancy levels, this breathing technique is a key way to reconnect with muscles that were stretched during delivery.
Ease of Performing at Home
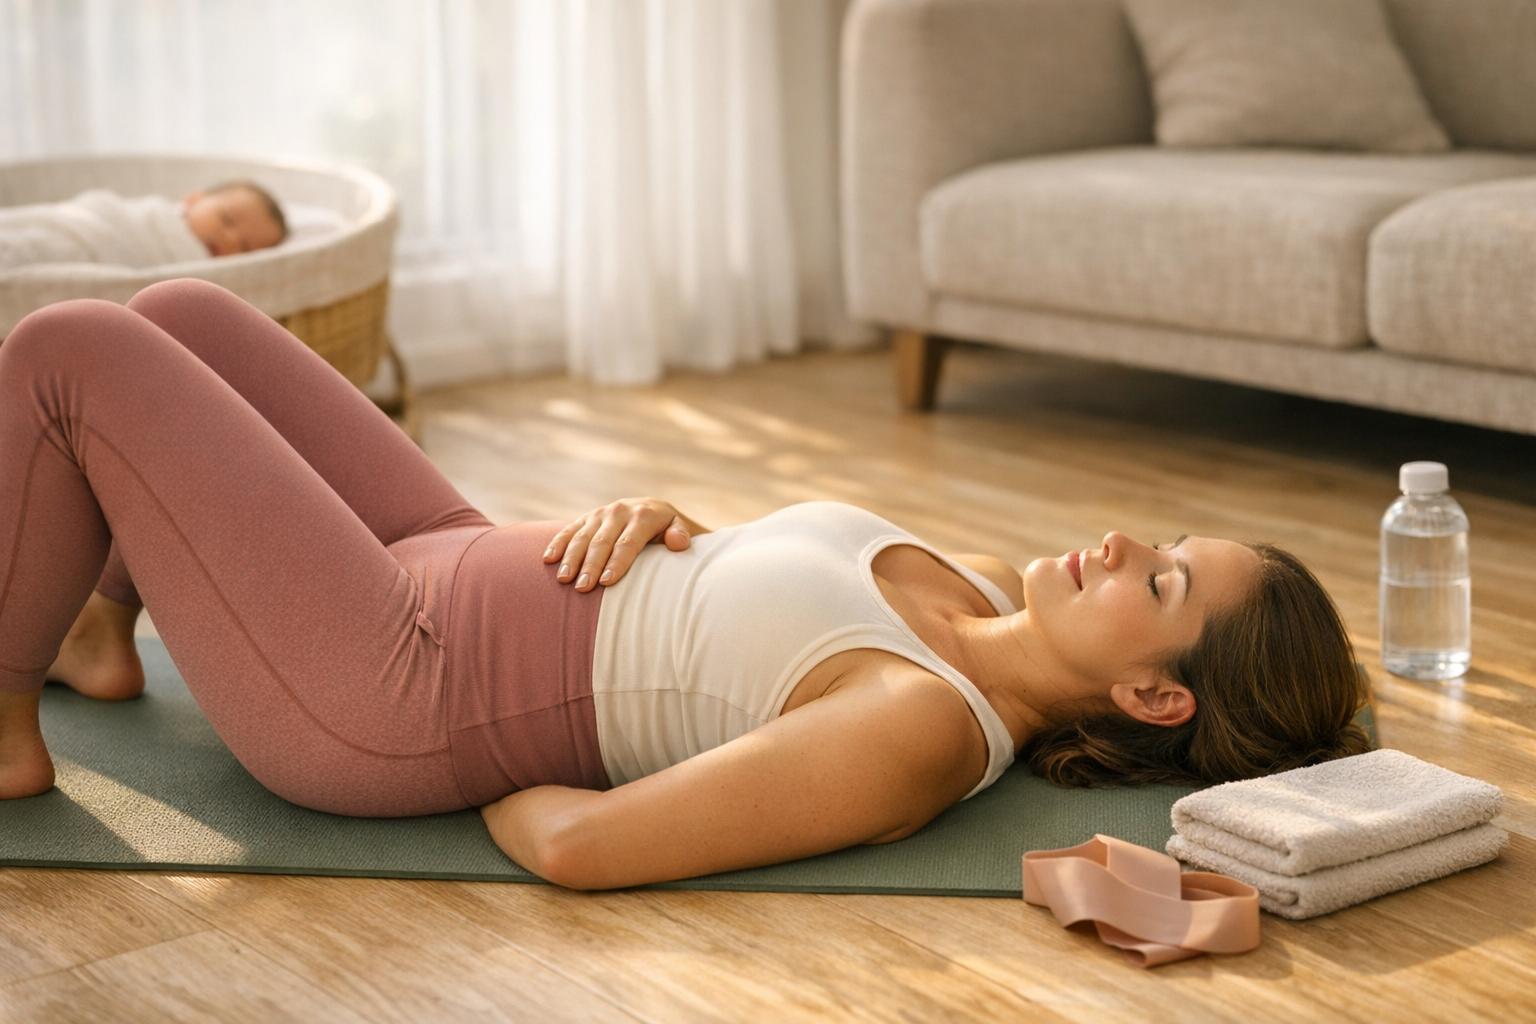
You can easily practice this at home. Start by lying on your back with your knees bent, or use pillows for support. Place one hand on your chest and the other on your belly to track your breathing. Inhale slowly through your nose, letting your belly rise and your pelvic floor relax. Exhale gently through your mouth while contracting your pelvic floor, similar to a Kegel exercise. Aim for 3 to 5 minutes of practice, one or two times per day. Be mindful not to hold your breath or tighten your glutes during the exercise.
Gradual Progression for Core and Pelvic Stability
Once you’re comfortable with this technique lying down, you can advance to practicing in a seated or standing position. Eventually, incorporate this breathing into daily movements. This gradual progression not only builds pelvic floor coordination into everyday tasks but also engages your parasympathetic nervous system, promoting relaxation and mental calm during the postpartum recovery phase.
sbb-itb-9ce2258
2. Transverse Abdominis Contraction and Kegels
Safety for postnatal care and recovery
Once diaphragmatic breathing has helped kickstart healing, incorporating exercises for the transverse abdominis (TA) and Kegels can further strengthen your core and pelvic floor. This combination is especially useful for rebuilding stability after childbirth. If you had a straightforward vaginal delivery, gentle Kegel exercises can usually begin a few weeks postpartum. For C-section recovery, it’s best to wait 4 to 6 weeks to allow the incision to heal before starting structured core exercises.
The TA is the deepest abdominal muscle, wrapping around your midsection like a corset to stabilize your spine and pelvis. By activating the TA alongside Kegels, you create a strong foundation that supports the healing process.
Effectiveness in Strengthening the Pelvic Floor
During childbirth, up to 36% of women experience levator ani muscle injuries. This makes the coordination of TA activation and pelvic floor exercises essential. These movements also help manage intra-abdominal pressure, which is key for healing conditions like diastasis recti. Studies show that women who engage in supervised pelvic floor training starting at 6 to 8 weeks postpartum achieve better muscle strength compared to those who rely solely on written instructions. Additionally, strengthening these muscles can lower the rate of urinary incontinence to 21% within three months postpartum.
Ease of Performing at Home
Here’s how to perform these exercises effectively:
- Kegel Exercise: Picture lifting a small object upward using only your pelvic floor muscles. Hold the contraction for 3 seconds, then relax for 3 seconds. Focus on isolating your pelvic floor - avoid tensing your thighs, glutes, or stomach muscles.
- TA and Kegel Combination: Lie on your back with your knees bent. Engage your TA by gently pulling your navel toward your spine while contracting your pelvic floor muscles (as in a Kegel). Hold for 3 seconds and gradually increase the duration week by week. Aim for 10 to 15 repetitions per set, completing three sets daily: one lying down, one sitting, and one standing.
Important: Never perform Kegels while urinating, as this can lead to incomplete bladder emptying and increase the risk of urinary tract infections.
Gradual Progression for Core and Pelvic Stability
Start with 3-second holds and increase by 1 second each week until you can hold for 10 seconds. Watch for any bulging along your midline (doming); if you notice this, return to a simpler version to protect healing tissues. As your endurance builds, practice contracting your pelvic muscles before activities like coughing, sneezing, or lifting heavy objects. This functional application strengthens your core for more demanding movements in the weeks ahead.
3. Ball Squeeze
Safety for Postpartum Recovery
The ball squeeze exercise is a gentle way to activate your inner thigh muscles (adductors) along with your pelvic floor. This co-activation encourages better blood flow and healing. While pelvic floor activation can start within the first two weeks postpartum, the ball squeeze is best introduced at your 6-week check-up, once your healthcare provider clears you for resistance exercises.
The most important thing here is avoiding excessive intra-abdominal pressure. Too much pressure can strain healing tissues or worsen issues like diastasis recti. If you feel any pain, heaviness, or leakage during the exercise, stop immediately and consult your healthcare provider. Starting slowly and mindfully creates a solid foundation for improving pelvic stability.
Effectiveness in Strengthening the Pelvic Floor
This exercise does more than just protect healing tissues - it strengthens several muscle groups at once. When you squeeze your inner thighs, your pelvic floor muscles naturally engage. This combination helps create a stable core foundation. Since postpartum recovery often involves rebuilding pelvic floor strength, exercises like this - targeting multiple muscles at the same time - are especially helpful.
Ease of Performing at Home
What makes the ball squeeze so practical is how easily it fits into your daily routine. To do this exercise, lie on your back with your knees bent, placing a soft ball or a pillow between your knees. Squeeze the ball while engaging your pelvic floor as if you're performing a Kegel. Hold the squeeze for 3 to 5 seconds, then release. Aim for 8 to 10 repetitions, completing two sets per day. You can also do this exercise while sitting in a chair, making it convenient to work into moments like feeding your baby or relaxing in front of the TV.
Gradual Progression for Core and Pelvic Stability
As with any postpartum exercise, gradual progression is key. Start with short holds and, as your strength improves, work up to holding the squeeze for 10 seconds. Once you can complete 15 repetitions with good form, try performing the exercise while sitting or standing to add a balance challenge. This functional progression - practicing pelvic floor engagement in different positions - better prepares you for everyday activities compared to exercises done in isolation.
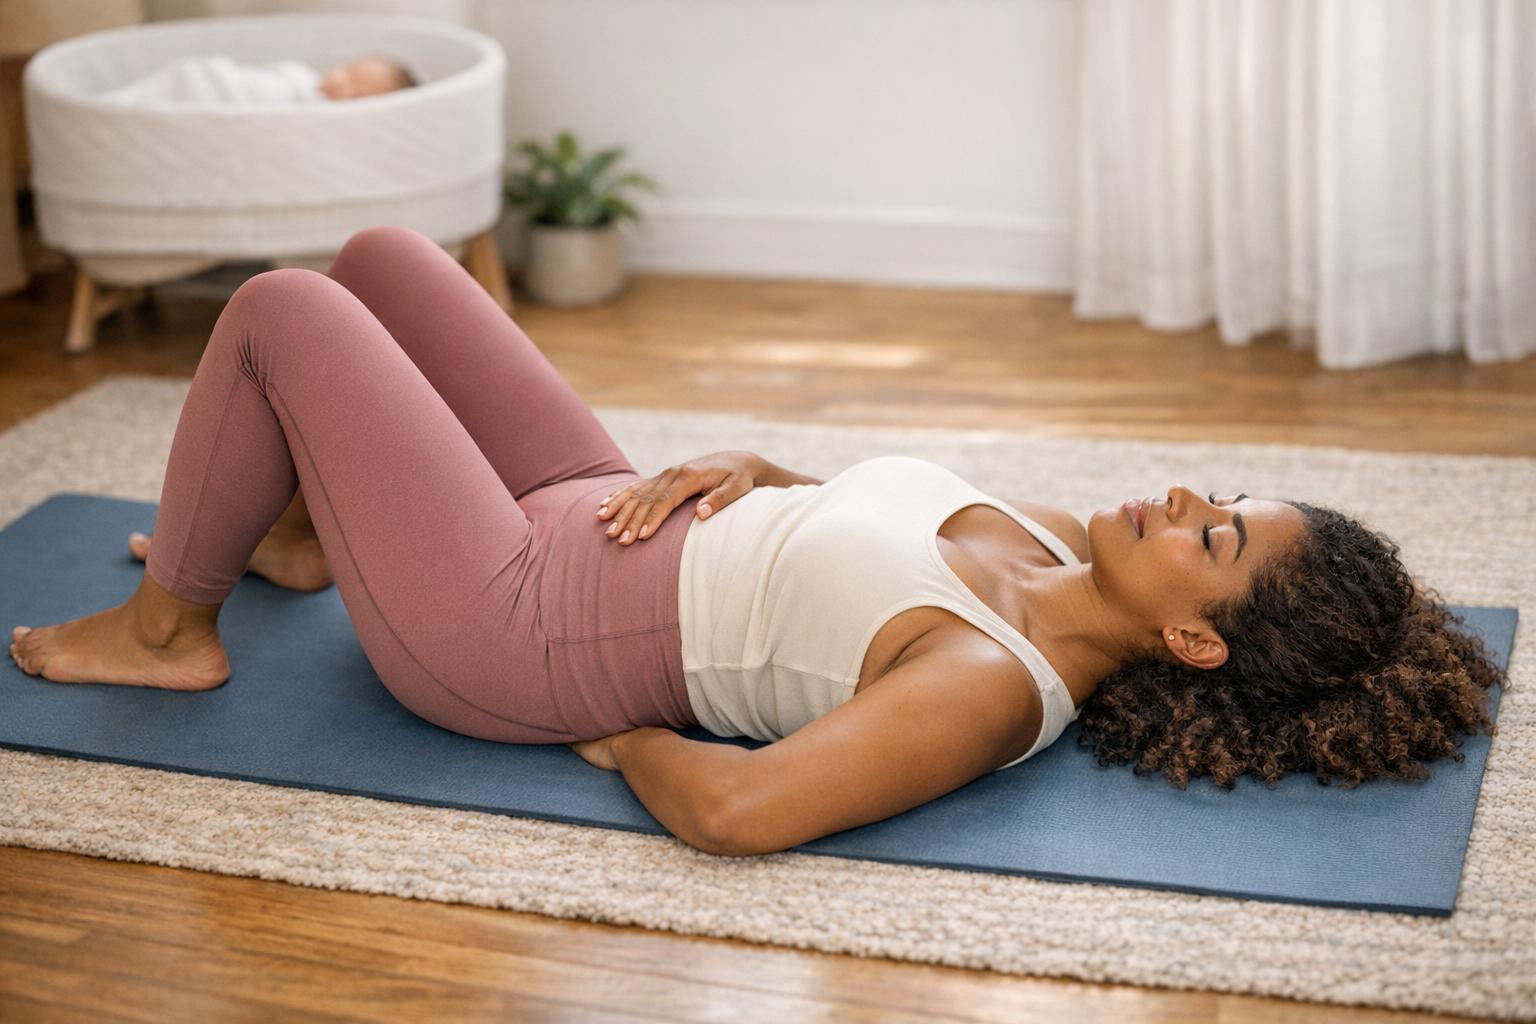
4. Glute Bridges
Safety for Postpartum Recovery
Glute bridges are a safe choice for postpartum recovery once you've been cleared by your healthcare provider, typically at your 6-week checkup. If performing a full bridge feels too challenging, you can start with pelvic tilts. This gentler variation involves rocking your pelvis to press your lower back into the floor, helping you build core awareness without putting strain on healing tissues. When getting on or off the floor, use the log roll technique - especially if you've had a C-section - to avoid unnecessary stress on your abdominal muscles. For proper breathing, inhale to prepare, then exhale as you engage your pelvic floor and lift your hips. This helps manage intra-abdominal pressure. If you experience pelvic pain, pressure, increased bleeding, or urinary leakage during the exercise, stop immediately and consult your healthcare provider.
Effectiveness in Strengthening the Pelvic Floor
Glute bridges are excellent for re-establishing the connection between your pelvic floor and inner core muscles. These areas often weaken during pregnancy and delivery. By lifting your hips while exhaling and drawing your pelvic floor muscles "up and in", you can activate and strengthen these essential muscles, helping restore stability and function.
Ease of Performing at Home
One of the best things about glute bridges is that they require no equipment - just a flat surface. To perform:
- Lie on your back with knees bent and feet flat on the floor, about hip-width apart.
- Pull your navel toward your spine and engage your pelvic floor to activate your core.
- Push through your feet and squeeze your glutes to lift your hips until your shoulders, hips, and knees form a straight line.
- Hold the position for about 6 seconds, breathing normally, then lower your hips slowly.
Complete 8–12 repetitions, focusing on keeping your hips level and avoiding excessive arching in your lower back.
Gradual Progression for Core and Pelvic Stability
If you're just starting, limit the range of motion by lifting only 50–75% of the way up. As your strength improves, try slowing the movement with a 3-second lift and a 3-second descent to enhance control and increase the time your muscles are working. Once you're able to complete 12 repetitions with proper form and hold a pelvic floor contraction for 8–10 seconds without discomfort or leakage, you can move on to more advanced variations like marching bridges. For this progression, hold the top position and alternate small knee lifts.
When you're ready, you can try single-leg bridges, but only if you can keep your hips level and maintain core stability throughout the movement. If you feel strain in your lower back instead of your glutes, focus on exhaling as you bring your ribs down toward your pelvis and imagine your tailbone reaching toward your knees. For personalized guidance, consider consulting a fitness or physical therapy professional.
5. Bird Dog
Safety for Postpartum Recovery
The Bird Dog exercise is a gentle and safe option to start once your healthcare provider gives the green light for postpartum exercise. To begin, position yourself on your hands and knees, keeping your shoulders aligned over your wrists and your hips over your knees. Your back should remain flat, and your neck neutral. In the first few weeks postpartum (weeks 2 to 4), focus on "belly lifts" - these are static abdominal contractions while holding this position - before advancing to limb extensions. If you notice pelvic pain, pressure, or increased leakage, take a step back and consult a pelvic floor physical therapist. Also, avoid high-impact activities until at least 12 weeks postpartum to allow your body adequate time to heal . This foundational posture is crucial for activating your deep core muscles during the exercise.
Effectiveness in Strengthening the Pelvic Floor
The Bird Dog exercise, performed in a quadruped position, is highly effective at targeting the deep abdominal muscles, particularly the transverse abdominis - muscles that often get stretched during pregnancy. By pulling your lower belly inward toward your spine, you activate these muscles and encourage the pelvic floor to engage in sync with them . Physical therapist Katie Ruebush, P.T., D.P.T., emphasizes:
"Your pelvic floor works in coordination with the abdominals and diaphragm, and all three need to work together".
This exercise strengthens the connection between your pelvic floor and deep abdominal muscles, which is essential for postpartum stability . It also helps rebuild the supportive "hammock" of muscles that stabilize your bladder, uterus, and bowels - key for recovery after childbirth, especially since 9 out of 10 women experience perineal tearing during vaginal delivery.
Ease of Performing at Home
The Bird Dog can be done easily at home on a flat surface. Begin by engaging your core, drawing your belly button toward your spine. Use controlled breathing, exhaling as you tighten your lower abdominals. Hold the contraction for about 6 seconds, and aim for 8–12 repetitions per session. For optimal results, repeat these deep abdominal exercises 6 to 10 times, four times daily. Remember to breathe steadily throughout - never hold your breath during muscle contractions.
Gradual Progression for Core and Pelvic Stability
Start with static belly lifts while on all fours, ensuring your back stays flat and your breathing steady. Once comfortable, progress to extending one arm and the opposite leg, keeping your hips level. Engage your glutes for added stability and exhale as you lift your limbs, which naturally activates your pelvic floor and deep core . This movement not only helps correct the lower back curvature that often develops after childbirth but also provides support for everyday activities like lifting or carrying your baby.
12-Min Postpartum Pelvic Floor Exercises To Do Daily (For Healing After Pregnancy)
Safety Guidelines and Progression Tips
Following these safety tips can help you ease into pelvic floor exercises while ensuring a steady and secure recovery.
Take it slow and pay attention to your body. Start with one set of 10 repetitions daily, holding each contraction for 3 seconds and then releasing for 3 seconds. Once this feels manageable, add one second to the hold time each week until you can comfortably hold for 10 seconds. Gradually work up to 10–15 repetitions, three times a day. This step-by-step approach allows your muscles to regain strength without overexertion.
Breathe properly during exercises. Make sure to exhale during the "squeeze" or "lift" phase of each contraction. Avoid holding your breath (known as the Valsalva maneuver), as this can increase intra-abdominal pressure and potentially worsen symptoms.
Know when to stop and seek help. If you experience sharp pain, increased vaginal bleeding, scar tightness, or a feeling of heaviness or "falling out", stop immediately and consult a healthcare provider. Persistent symptoms like urinary leakage, vaginal heaviness, or pain during intercourse beyond 12 weeks postpartum should also be assessed by a pelvic floor physical therapist. As Dr. Sarah Clarkson, Urogynecologist, explains:
"Starting with pelvic floor rehabilitation creates a stable base for safer and more effective abdominal reconditioning later in recovery".
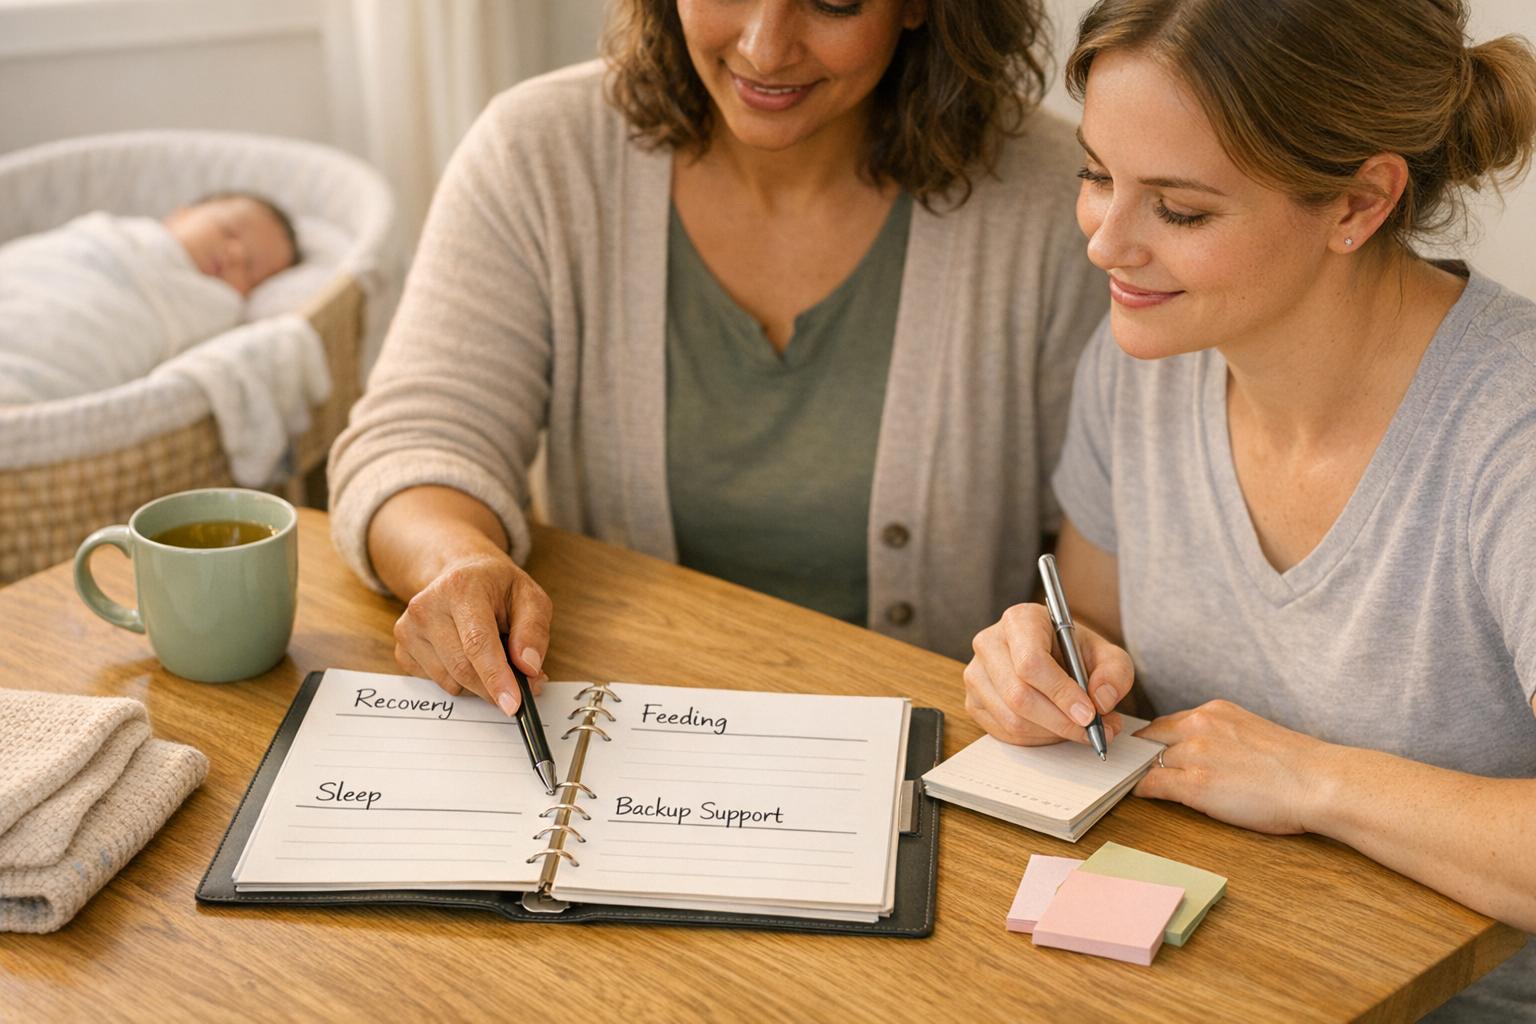
Get professional support if needed. Platforms like Nestling can connect you with vetted postpartum doulas who offer guidance on physical recovery, lactation, and emotional well-being. These trained caregivers can help you navigate postpartum challenges while keeping your recovery safe and focused.
Wait for the right milestones before advancing. For those recovering from a C-section, allow 6–8 weeks for your incision to heal before starting structured core or pelvic floor exercises. If you had a vaginal birth with stitches, wait until the stitches feel soft or dissolve (usually 5–7 days) before beginning gentle exercises, and avoid heavy lifting during this time. Before resuming high-impact activities like running or jumping, typically after 12 weeks, ensure you can hold a pelvic contraction for 8–10 seconds and perform impact-absorbing movements without any pain or leakage.
Conclusion
Focusing on a safe and consistent recovery routine is key to maintaining long-term pelvic floor health. These exercises target muscles that play a crucial role in supporting your bladder, bowels, and uterus, while also stabilizing your core and contributing to sexual function. As physical therapist Allison Oswald, PT, DPT, WCS, CPT, puts it:
"Just as you would rehab an injured shoulder or leg muscle, it's just as important to give a little T.L.C. to your pelvic floor".
Sticking to a regular practice is essential. After childbirth, pelvic floor strength often decreases significantly, and rebuilding it can take anywhere from 6 to 12 months. Even dedicating just a few minutes several times a day can help restore the connection between your pelvic floor and core, easing issues like incontinence, back pain, and pelvic pressure. However, consistency is critical - stopping the exercises may cause progress to fade.
Recovery looks different for everyone. Whether you had a vaginal delivery or a C-section, your pelvic floor will need time and gradual retraining to recover from the strain of pregnancy.
Professional guidance can make a big difference during this time. Platforms like Nestling can connect you with experienced postpartum doulas who provide support with physical recovery, lactation, and emotional well-being, helping you stay on track while caring for your newborn.
Start slowly, stay consistent, and don’t hesitate to ask for help when needed. Celebrate your body’s resilience and commit to giving it the care it deserves.
FAQs
How do I know if I’m doing a Kegel correctly?
To ensure you're performing a Kegel exercise correctly, concentrate on activating your pelvic floor muscles without involving your abdominal, thigh, or buttock muscles. One way to test this is by attempting to stop the flow of urine midstream or by gently tightening the muscles used to hold in gas (though avoid making this a regular practice). The correct method includes contracting these muscles, holding the contraction for a few seconds, and then releasing. As your strength improves, you can gradually extend the hold time.
What are signs I should stop and see a pelvic floor therapist?
If you’re dealing with ongoing leaking, a constant sense of urgency, or discomfort after giving birth - especially if gentle exercises aren’t making a difference - it’s a good idea to consult a pelvic floor therapist. This is particularly important if you experienced perineal tearing during delivery or if symptoms like pain or weakness persist without getting better. A professional evaluation can help guide your recovery and tackle any lingering issues effectively.
When can I start running or jumping again postpartum?
After about 6 weeks postpartum, you can generally start running or jumping again - but only if you’ve been cleared by your doctor. Additionally, it’s a good idea to consult a pelvic floor physical therapist to assess your recovery. This step helps confirm whether your body is ready for higher-impact activities.