10 Postpartum Meal Prep Tips for New Moms
10 Postpartum Meal Prep Tips for New Moms
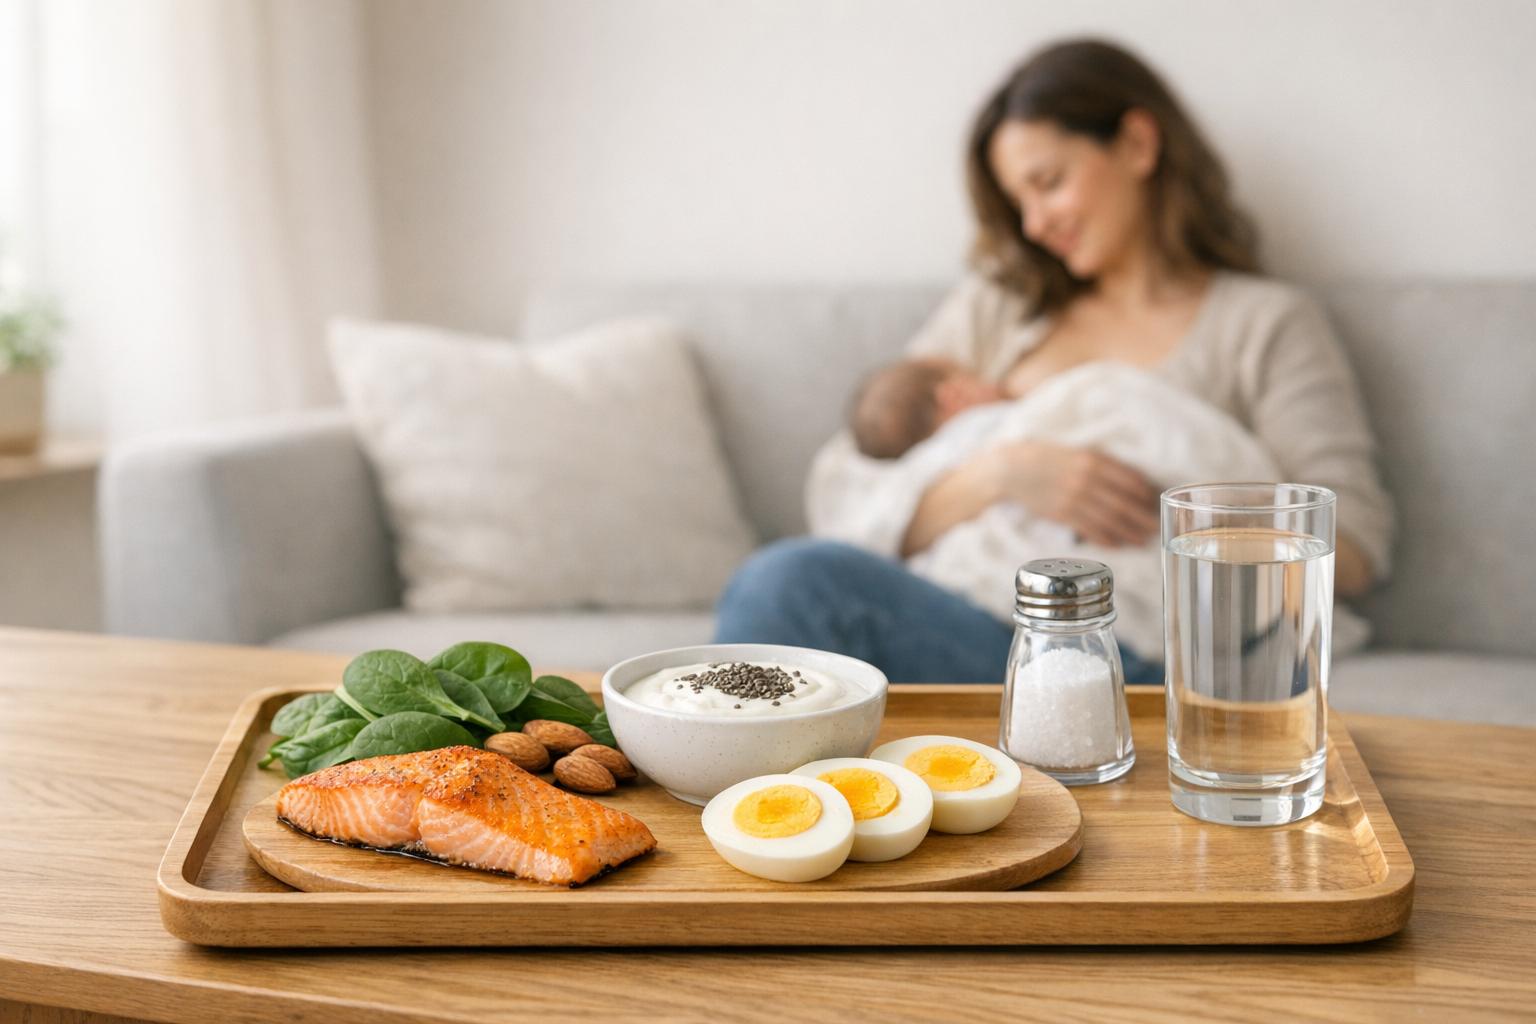
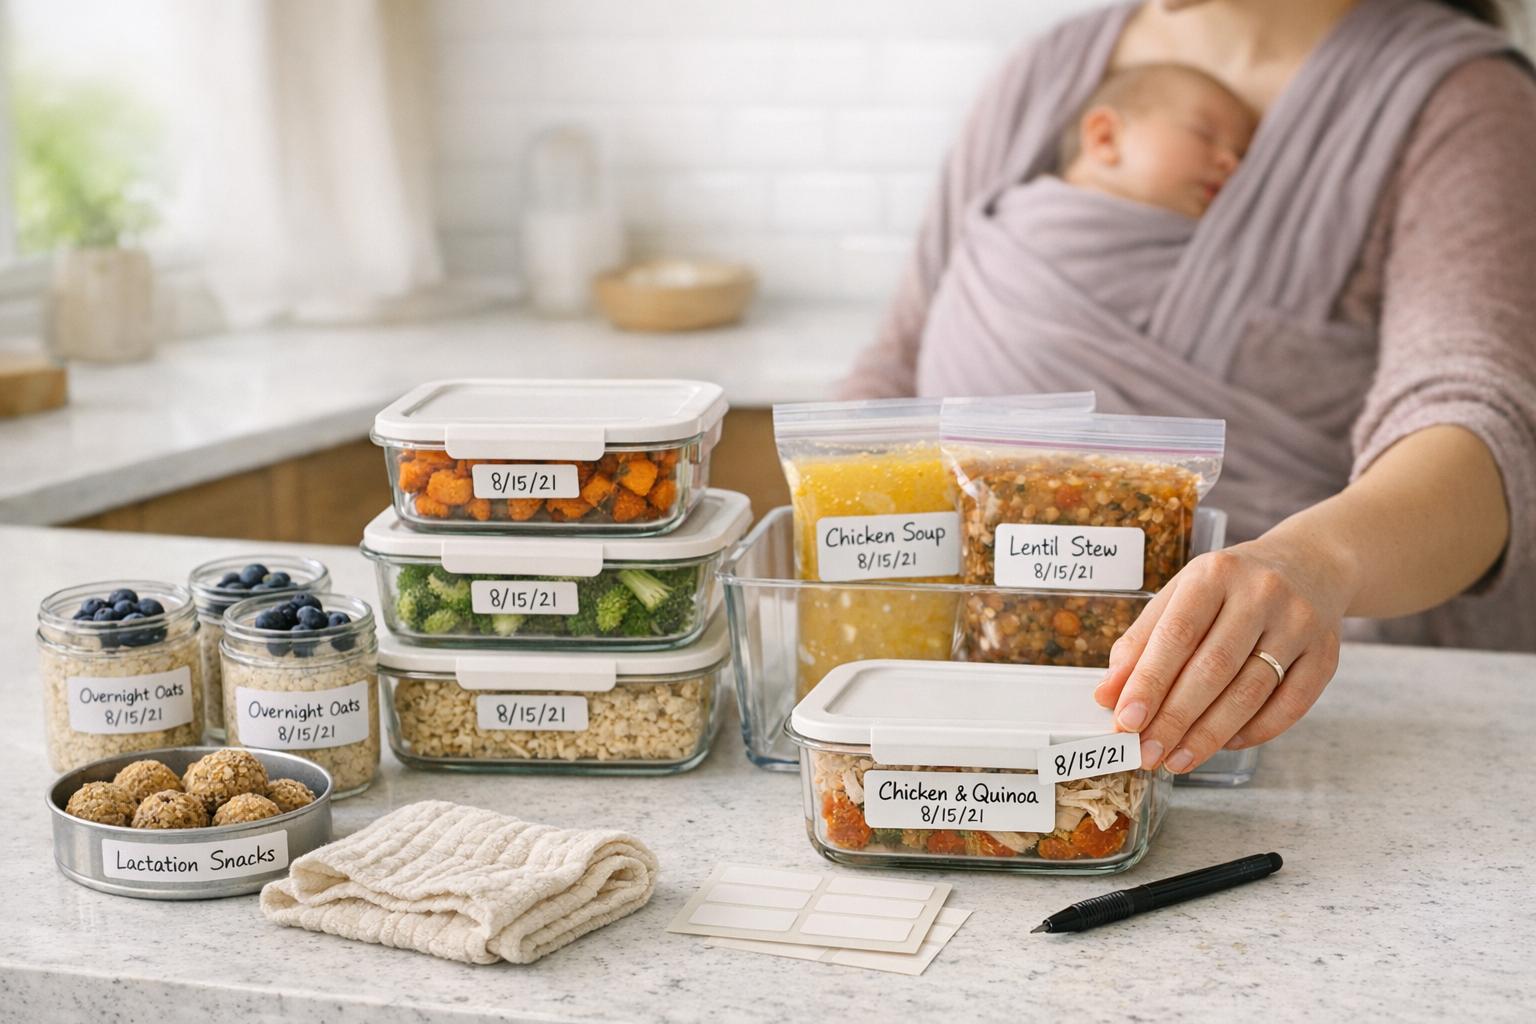
Postpartum recovery is tough, but meal prepping can make it easier. In the early weeks after giving birth, your body needs extra nutrients to heal, produce milk, and regain energy. However, cooking can feel overwhelming during this time. Stocking up on pre-made, nutrient-rich meals ensures you stay nourished without the stress of daily meal planning.
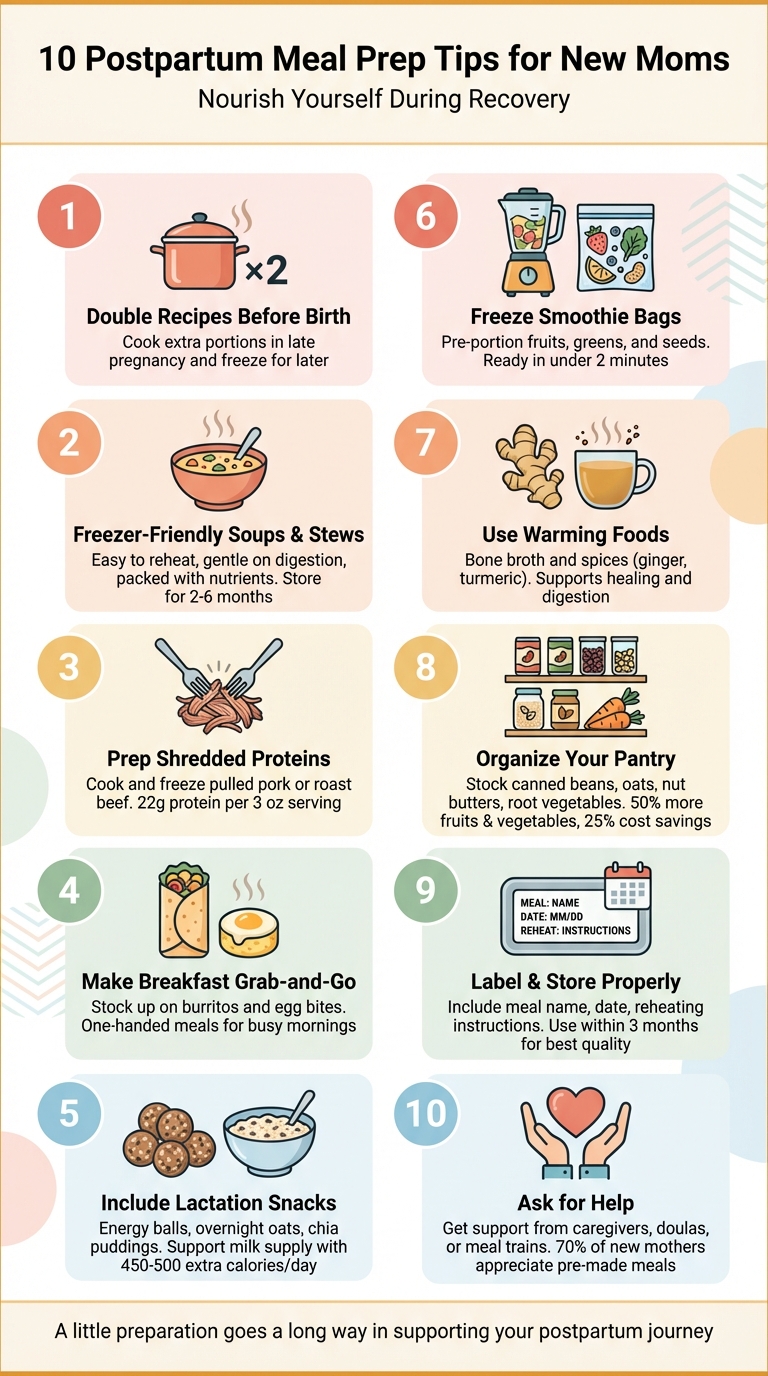
Here’s a quick summary of the 10 tips to simplify postpartum meal prep:
- Double Recipes Before Birth: Cook extra portions in late pregnancy and freeze them for later.
- Focus on Freezer-Friendly Soups and Stews: Easy to reheat, gentle on digestion, and packed with nutrients.
- Prep Shredded Proteins: Cook and freeze versatile options like pulled pork or roast beef.
- Make Breakfast Grab-and-Go: Stock up on burritos and egg bites for quick, one-handed meals.
- Include Lactation Snacks: Prepare energy balls, overnight oats, or chia puddings to support milk supply.
- Freeze Smoothie Bags: Pre-portion fruits, greens, and seeds for fast, nutrient-packed drinks.
- Use Warming Foods: Incorporate bone broth and spices like ginger and turmeric for healing.
- Organize Your Pantry: Stock up on essentials like canned beans, oats, and root vegetables.
- Label and Store Meals Properly: Prevent freezer burn and make reheating easier with clear labels.
- Ask for Help: Get support from caregivers, postpartum doulas, or meal trains to lighten the load.
With these strategies, you’ll save time, reduce stress, and ensure you’re eating well during recovery. Whether it’s batch-cooking soups or organizing a meal train, a little preparation can go a long way in supporting your postpartum journey.
10 Postpartum Meal Prep Tips for New Moms Infographic
Huge Postpartum Freezer Meal Prep With 17 Different Recipes!
sbb-itb-9ce2258
1. Cook Double Portions During Late Pregnancy
One of the simplest ways to stock up on postpartum meals is to start doubling your dinners once you hit 36 weeks of pregnancy. Instead of preparing a single batch of chili or lasagna, make twice as much - enjoy half for dinner and freeze the rest. Over time, you'll build a dependable stash of meals without much extra effort.
"The easiest method: Once or twice a week, make dinner like normal, double the recipe, and freeze half. That's it." - McKayla Broadhurst, Certified Postpartum Doula
Focus on meals that freeze and reheat well, like soups, stews, casseroles, or slow-cooked proteins such as pulled pork or carnitas. These dishes typically keep their flavor and texture for 3 to 6 months in the freezer. Choose nutrient-packed options rich in protein, iron, and healthy fats to aid recovery and support milk production.
Proper storage is key. Always let meals cool completely before freezing - this prevents raising your freezer's temperature, which could encourage bacterial growth. Use airtight freezer bags (make sure to squeeze out all the air) or glass containers, and label them with the dish name, date, and reheating instructions. This makes it easier for newborn care specialists to help you out when you're too tired to cook.
2. Make Freezer-Friendly Soups and Stews
Soups and stews are perfect candidates for freezing - they reheat quickly, retain their flavor, and pack a punch of nutrients. Broth-based soups made with bone broth or miso are especially helpful, offering hydration and electrolytes that support recovery and milk production. Iron-rich stews, featuring ingredients like beef or lamb, help replenish iron levels after childbirth while providing protein for healing. Legume-based options, such as lentil, split pea, or bean soups, promote digestion and may help alleviate postpartum constipation.
When preparing soups for freezing, skip ingredients like dairy or pasta. These tend to separate or get mushy after freezing. Instead, add them fresh when you're ready to serve. As Lexi from Lexi's Clean Kitchen points out:
"Foods with cream... tend to separate when frozen, so if you do choose to freeze them, they might not defrost the way you expect".
For storage, portion soups into one- or two-serving sizes. Freeze flat in gallon bags or use glass containers, leaving 1–2 inches of headspace to allow for expansion. Don’t forget to label each container with the recipe name, date, and reheating instructions. Properly stored, most soups maintain their quality for 2 to 6 months in the freezer.
To stay organized, keep a simple inventory list on the outside of your freezer. This makes it easy to see what’s available at a glance. When you're ready to enjoy, thaw the soup overnight in the fridge. Reheat with a splash of water or broth to restore its original consistency, and you’ll have a warm, comforting meal in no time.
3. Prepare Proteins Like Pulled Pork and Carnitas
After tackling soups and double-batch dinners, it’s time to focus on proteins that are both nutrient-packed and versatile. Shredded proteins like pulled pork and carnitas are perfect for postpartum meal prep. They’re budget-friendly, easy to prepare, and loaded with nutrients - just 3 ounces of pulled pork packs 22 grams of protein. Protein plays a key role in tissue repair and is especially important for breastfeeding, which demands around 500 extra calories per day.
For bulk cooking, pork shoulder is a top choice. Whether you use a slow cooker, Instant Pot, or Dutch oven, you can easily cook large quantities, shred the meat, and freeze it for later. Beef chuck roast is another excellent option. It’s not only rich in protein but also provides iron, which helps replenish blood lost during delivery.
"The star of the show here (chuck roast) is rich in iron and a great source of protein." – Brandi Schilhab from Fed & Fit
Proper storage is key to keeping the meat moist. Freeze the shredded meat and its cooking juices in separate containers to prevent it from drying out. Lay the meat flat in freezer bags or containers, leaving some space (about 1/3 to 1/2 empty) to allow for liquid expansion. Don’t forget to label each package with the date and reheating instructions - this makes it easier for your partner or caregiver to help with meals.
"Cooked proteins really need to be defrosted in the fridge overnight or else you risk overcooking the outer portion while the inside is still defrosting." – Registered Dietitian Lauren from Lauren Fit Foodie
When reheating, aim for an internal temperature of 165°F (74°C). Add a splash of broth or water to bring back moisture. For crispy carnitas, spread the thawed meat on a foil-lined baking sheet, broil for 5–7 minutes, and then toss it with the warmed cooking juices.
Once defrosted, these proteins can be turned into a variety of meals - think tacos, grain bowls, salads, sandwiches, or even pasta dishes. Preparing proteins like these gives you endless options for quick, nutritious meals. Next, we’ll dive into breakfast-friendly ideas to round out your postpartum meal plan.
4. Make Breakfast Burritos and Egg Bites Ahead
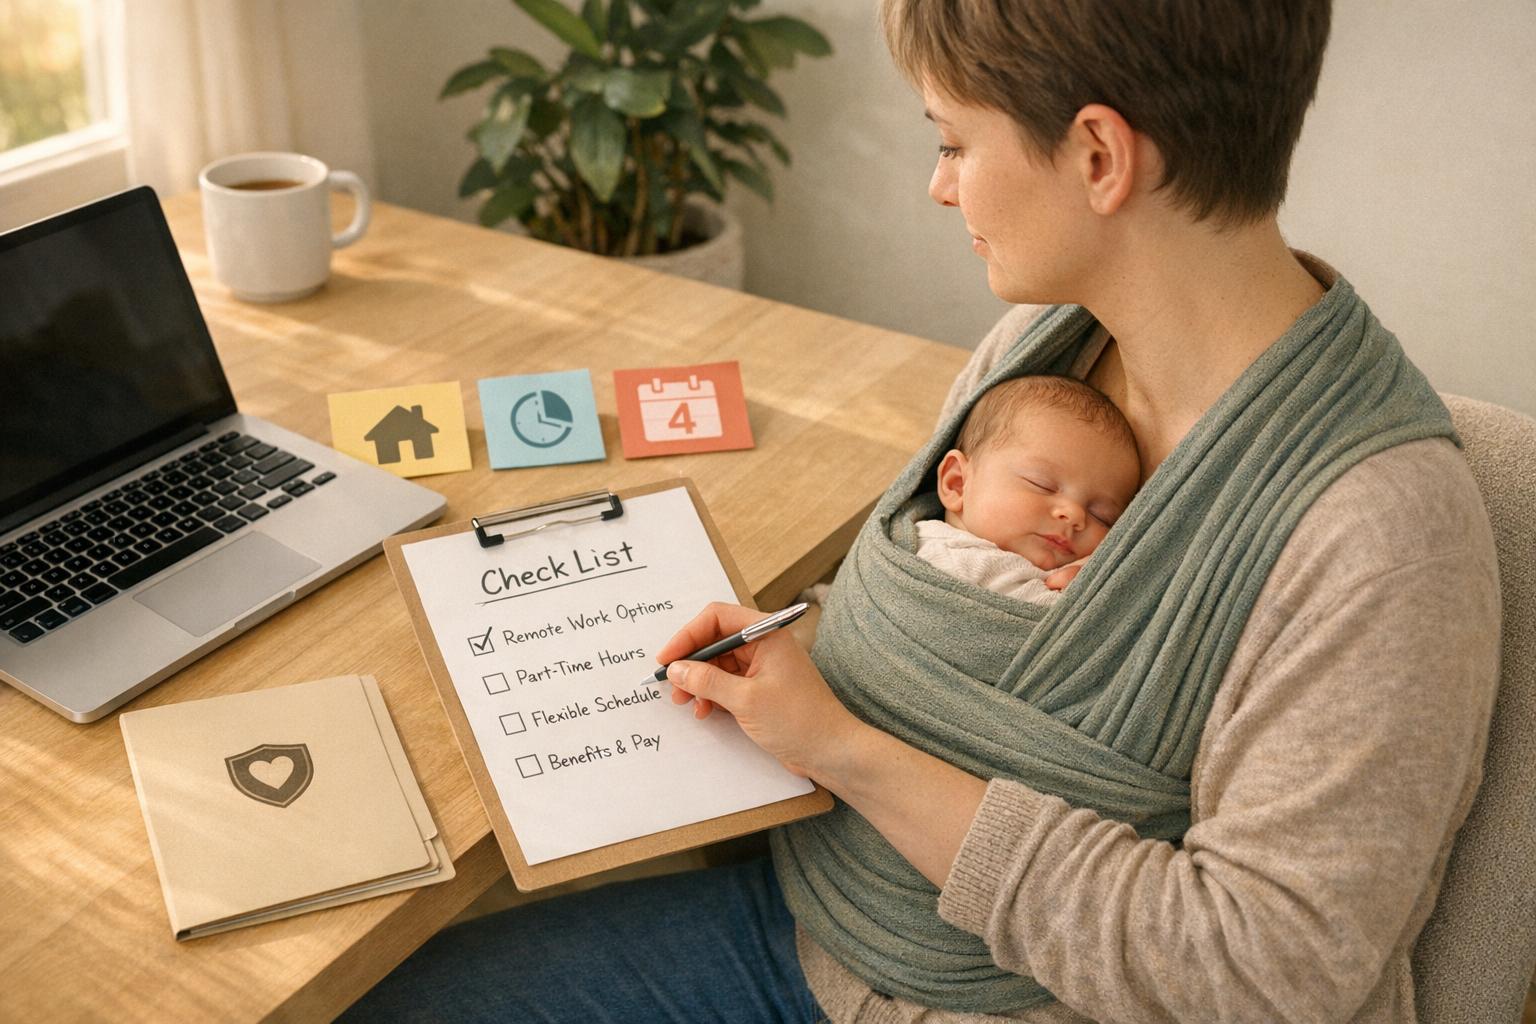
Busy mornings can make it tough to grab a nutritious meal, especially when you're nursing or holding your baby. That's why prepping breakfast burritos and egg bites ahead of time can be a game-changer. These quick, one-handed meals are packed with nutrients to fuel your energy and aid recovery with professional postnatal care during the postpartum period. By preparing them in your eighth month, you’ll have a freezer stocked with ready-to-eat options for those hectic early days.
"Starting the day with a breakfast that gives you the energy (calories!), fat, protein, carbohydrates, and key micronutrients your body needs can have a massive impact on how you feel during the postpartum period - from your energy to your mood, to your sleep and even your breastmilk supply." – Lindsay Taylor, Perinatal Nutritionist, The Food Doula
To create balanced, nutrient-dense breakfasts, begin with eggs as your base. They’re rich in protein, vitamin B12, and choline. Add ground turkey, black beans, or bacon for iron and staying power, toss in vegetables like spinach, bell peppers, or mushrooms for fiber and vitamins, and include healthy fats like avocado or cheese for hormone support. For egg bites, blending cottage cheese with your eggs adds extra protein and gives them a smooth, creamy texture.
Streamline your prep with these time-saving tips. Instead of cooking scrambled eggs in small batches, bake your egg mixture on a sheet pan at 350°F for 20–25 minutes, then slice it into tortilla-sized rectangles. Use frozen pre-diced potatoes in an air fryer at 400°F for about 12 minutes to save chopping time, and briefly warm tortillas in a skillet to prevent cracking. For egg bites, silicone muffin pans or parchment liners make removal hassle-free.
When it comes to freezing and reheating, let everything cool completely to maintain texture. Wrap burritos in parchment paper followed by aluminum foil to prevent freezer burn, and flash-freeze egg bites on a parchment-lined baking sheet before transferring them to freezer bags. Both can be stored for up to 3 months. Label packages with the date and reheating instructions like, "Microwave 90s on defrost, then 60s on high", so anyone can help heat them up. For a crispy finish, reheat in an air fryer at 350°F for 3–7 minutes, or wrap items in a damp paper towel when microwaving to retain moisture.
5. Add Lactation-Supporting Snacks
If you're breastfeeding, your body needs an extra 450–500 calories each day to keep up with milk production. This means you'll probably find yourself snacking more often. The trick is to have nutrient-packed, easy-to-grab snacks that combine galactagogues (foods that naturally support milk supply) with protein, healthy fats, and complex carbs. For example, you could try lactation energy bites made with oats, flaxseed, and almond butter, or savory meatballs using iron-rich grass-fed beef.
"Savory, one-handed snacks deliver key postpartum nutrients like iron, zinc, protein, fats, choline, vitamin A, and vitamin B12." – Lindsay Taylor, Author and Perinatal Nutritionist
No-bake energy balls are a quick and simple option, taking just 10–15 minutes to make. Mix rolled oats (which help stimulate prolactin, a hormone crucial for milk production), ground flaxseed for omega-3s and phytoestrogens, and nut butter for long-lasting energy. For an extra boost, you can add brewer's yeast - just make sure to choose a debittered version for a smoother taste. Roll the mixture into 1-inch balls, freeze them on a lined baking sheet, and then store in freezer bags with parchment paper between layers. These snacks can last in the freezer for 2–3 months.
If you're looking for variety, try pre-portioning overnight oats or chia pudding into single-serving jars. You could also make nutrient-dense bars with seeds and dark chocolate or put together Greek yogurt parfaits with berries and hemp seeds for an extra dose of protein and probiotics. Eating a balanced snack every 3–4 hours can help stabilize your energy levels, prevent irritability, and maintain a steady milk supply. To make life easier during those late-night feedings, label each container with the date and contents so you can quickly grab what you need.
Next up, we’ll dive into how pre-portioning smoothie bags can complement your postpartum snack routine.
6. Prepare Pre-Portioned Smoothie Bags
Adding pre-portioned smoothie bags to your postpartum routine is a quick way to enjoy a nutrient-dense snack without extra hassle. Smoothies are especially convenient because you can sip them with one hand - perfect for when you're holding or nursing your baby.
The key to making this work? Prep everything ahead of time. That way, when you're running on little sleep, all you need to do is grab a bag, toss it into a blender with your preferred liquid, and blend. In less than two minutes, you'll have a nourishing snack ready to go.
Here’s how to do it: Fill gallon- or quart-sized freezer bags with the solid ingredients only. This can include frozen fruits like berries or bananas, leafy greens such as spinach or kale, and nutrient-packed extras like chia seeds, ground flaxseed, or rolled oats. Skip the liquids for now - those get added when you're ready to blend. For a lactation-friendly boost, include oats and flaxseed, as both are believed to support milk production. Healthy fats like avocado or nut butter can help balance hormones, while frozen cherries offer natural melatonin to promote better sleep.
"We need lots of energy and fluids postpartum for healing. Plus, the oats may help with milk supply for our breastfeeding mamas." – Stephanie Lauri, Registered Dietitian and Pre/Postnatal Nutritionist
To save freezer space, press out as much air as possible before sealing the bags, then freeze them flat. Once frozen, you can stack the bags upright like files. Label each bag with the smoothie name, the prep date, and a note on what liquid to add (e.g., "Add 1 cup almond milk"). This small step makes it super easy to know what’s inside at a glance. Use the bags within three months for the best flavor and nutrition.
When you're ready to blend, add 1 cup of your chosen liquid - options include dairy milk, almond milk, oat milk, coconut water, or plain water. If your bag contains spinach, pair it with vitamin C–rich fruits like mango or strawberries to help your body absorb plant-based iron more effectively. Each smoothie delivers fiber, antioxidants, and helps meet the extra 330–500 calories needed for milk production. These pre-portioned smoothie bags are a simple way to ease your postpartum recovery while keeping mealtime stress to a minimum.
7. Use Warming Spices and Bone Broths
After giving birth, your body undergoes significant changes - blood loss, hormonal shifts, and a drop in internal warmth. Incorporating warming foods, like bone broth and spiced dishes, can help restore that internal heat while supporting your recovery. Warm meals are also easier to digest, allowing your body to focus on healing and milk production. For personalized support during this transition, many families work with postpartum doula services to manage recovery and newborn care. This approach complements your meal prep efforts by promoting better nutrient absorption and aiding overall recovery.
These warming foods do more than just comfort - they actively assist with tissue repair and digestion. Bone broth, in particular, is a postpartum powerhouse. Packed with collagen and amino acids, it helps repair tissues, while minerals like calcium and magnesium replenish what’s often depleted during pregnancy and breastfeeding. You can enjoy bone broth throughout the day by sipping it from a thermal mug or enhance its flavor with warming additions. For instance, simmer it with ginger, cinnamon, turmeric, honey, and ghee to create a soothing, nutrient-rich drink. It also makes an excellent base for simple dishes like congee, lentil soup, or hearty stews.
"Bone broth is one of my top postpartum foods for a reason. It's rich in collagen and amino acids that support tissue repair after birth, along with minerals like calcium and magnesium that help restore what pregnancy and breastfeeding deplete." – Lindsay Taylor, Author, The Food Doula Cookbook
Adding warming spices to your meals can further enhance recovery. Ginger improves circulation and reduces inflammation, turmeric speeds up wound healing, cinnamon helps regulate blood sugar, cumin provides iron, and fennel seeds support lactation. Try small, flavorful additions like cardamom in oatmeal, turmeric in chicken stew, or cinnamon in stewed pears as an alternative to raw fruit.
If you're preparing bone broth in advance, pressure cook it with apple cider vinegar for about 120 minutes to extract maximum minerals from the bones. For easy storage, freeze it in silicone trays to create 1-cup portions, then transfer the cubes to vacuum-sealed bags. Alternatively, store it in mason jars, leaving 1–2 inches of space at the top to prevent cracking. Don’t forget to label your containers with the prep date - frozen broth is best used within 3–6 months.
8. Stock Your Pantry and Fridge with Basics
Start by clearing out expired items and moving rarely used products to higher shelves. This opens up space for postpartum essentials. Alongside your freezer meals, a well-stocked pantry ensures you can whip up quick, nutritious dishes. This setup is especially helpful for meeting the extra 350–500+ calories needed daily for breastfeeding recovery.
Here are some pantry must-haves: canned beans like chickpeas, black beans, and lentils; tuna or sardines; nut butters; rolled oats; quinoa; brown rice; and whole-grain pasta. For healthy fats, stock olive oil, ghee, chia seeds, flaxseeds, and hemp seeds. Quick meal enhancers, such as jarred tomato sauce, coconut milk, and boxed bone broth, are lifesavers. For snacks, keep protein bars, trail mix, or jerky on hand - perfect for one-handed eating while holding your baby.
In the fridge, make room for eggs, Greek yogurt, cottage cheese, and pre-cut cheese for easy protein options. Root vegetables like beets and squash are great because they last longer than leafy greens and support gut health, as do fermented foods like kimchi or sauerkraut. Avocados, rotisserie chicken, and pre-cut fruits and veggies are ideal for quick, nutritious meals on busier days.
"The last thing to fret over is cooking nourishing food. ... These meals will be your lifeline, providing quick and nutritious options when you need them the most." – Edie Horstman, Nutrition Coach and Founder of Wellness with Edie
Consider organizing a "nursing station" shelf in your pantry, stocked with easy snacks like granola bars and nut butter packets. Use the "first in, first out" method - placing older items at the front - to reduce waste. To make life even easier during recovery, keep disposable or recyclable plates, utensils, and cups handy to cut down on cleanup. A well-organized pantry and fridge work hand-in-hand with your freezer meals, ensuring you're always ready to nourish yourself during postpartum life.
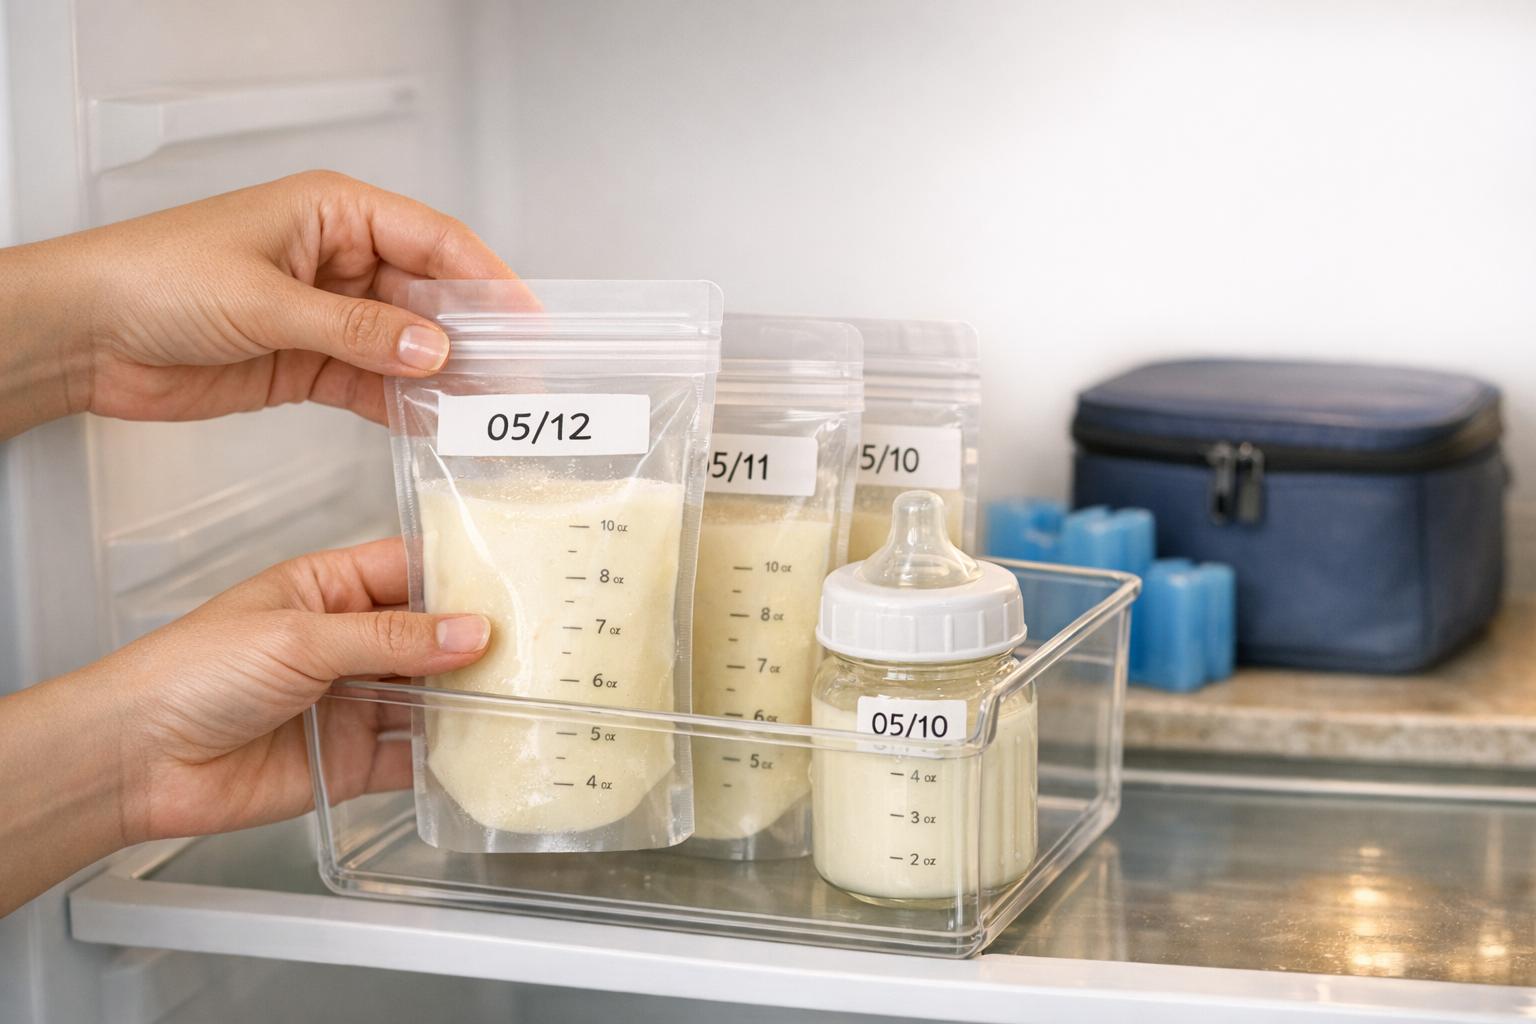
9. Label and Store Freezer Meals Properly
Once you've prepared your freezer meals, how you store and label them can make all the difference. A well-organized freezer saves you from the frustration of "mystery meals" and ensures your food stays fresh and easy to use. Label each container with the meal name, the prep date, and a "best-by" date (typically three months from freezing). Don’t forget to include reheating and defrosting instructions - it’s a small step that makes a big impact.
"Key details to include are defrosting instructions, how to reheat, and most importantly, what the meal is! This is a sure way to help keep track of what you have in storage so there isn't any guesswork that has to happen." – Brandi Schilhab, Author, Fed & Fit
Make sure meals are completely cool before sealing them to prevent bacterial growth and freezer burn. For freezer bags, press out as much air as possible to help maintain food quality. For added protection, double-wrap items - start with parchment paper and finish with aluminum foil. If you're freezing soups or stews, lay the bags flat on a cookie sheet until frozen solid, then stack them upright like books. This method saves space and keeps your freezer tidy.
Portion meals into one- or two-serving sizes to make defrosting faster and reduce waste. Most meals keep their quality for up to three months, though cooked meats can last three to four months, and egg-based dishes are best used within one to two months. To stay organized, keep a visible inventory list of your freezer meals. This helps you use older meals first and makes life a little easier during those hectic postpartum days.
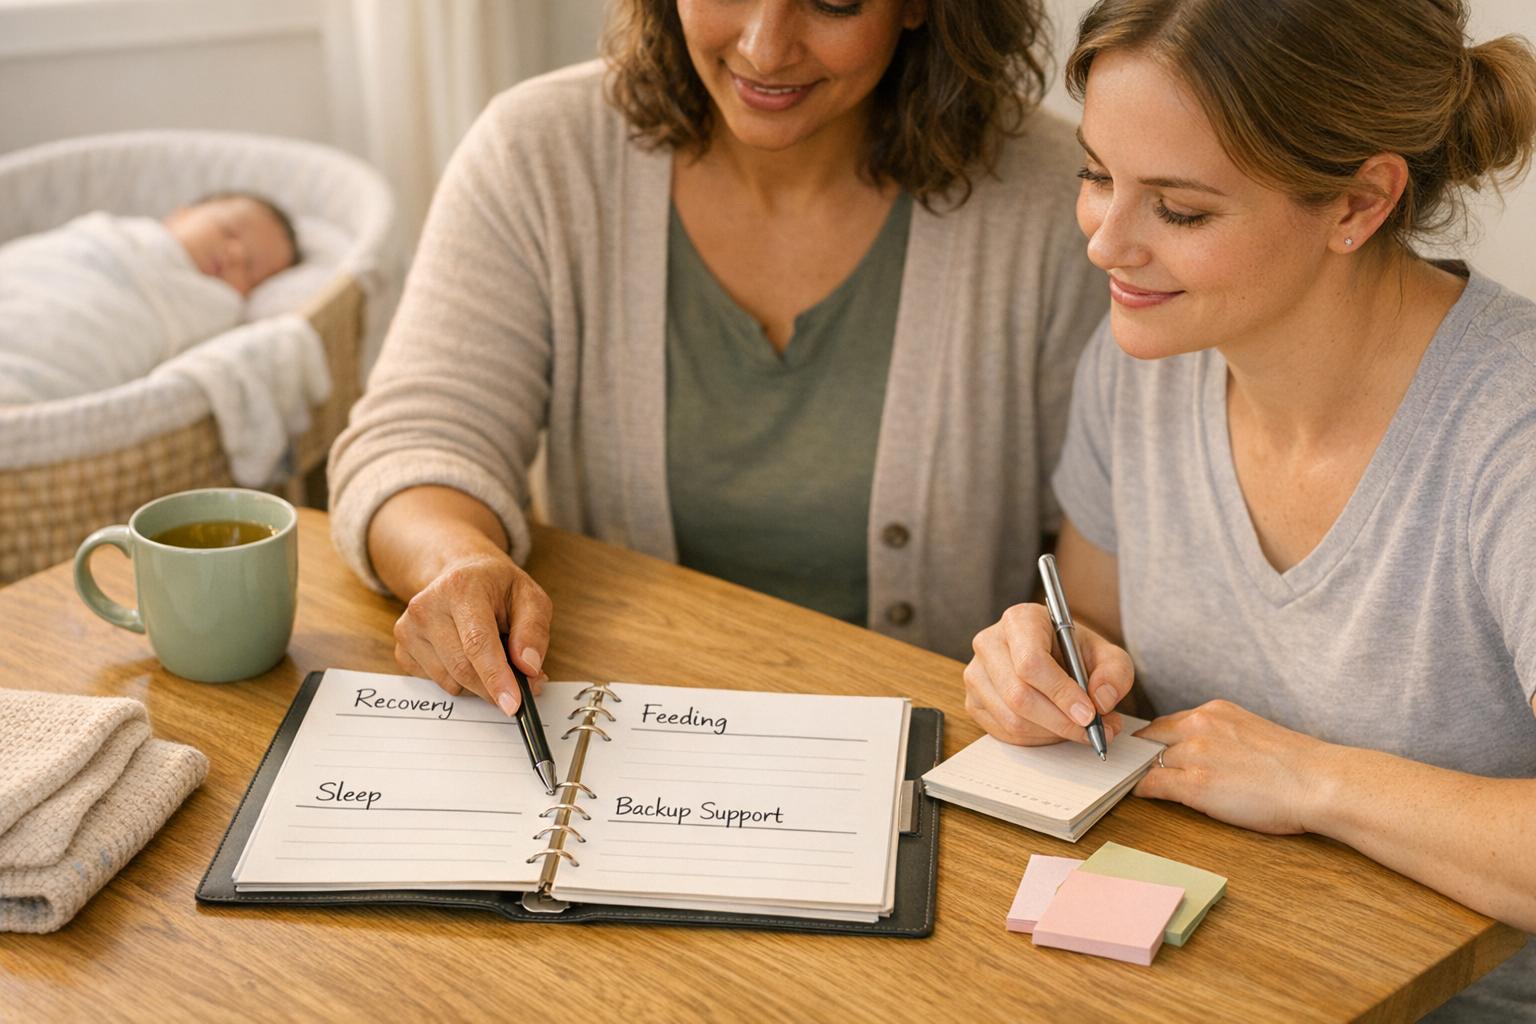
10. Get Help from Caregivers for Meal Prep
When you're stocking your freezer and organizing your pantry, consider getting some extra help with meal prep. Postpartum doulas or caregivers can take care of planning, grocery shopping, cooking, and freezing meals. This kind of support allows you to focus on healing and bonding with your baby without worrying about what’s for dinner.
"Postpartum doulas can even help with the meal prep by cooking, preparing, packaging, and freezing your meals for you when you return home from giving birth." – Brooke Hoyt, Postpartum Doula
Many postpartum doulas incorporate nutritional practices like Ayurveda or Traditional Chinese Medicine to promote healing and hormonal balance. For instance, Colleen Welsh from Connected Doulas in Philadelphia offers a "Six-Week Postpartum Package" that includes 36 hours of in-home cooking. She also provides a "Fill Your Freezer" package, a one-day intensive session to stock your kitchen with ready-to-heat meals. One client shared,
"A few days before I went into labor Colleen stocked our fridge and freezer with breakfasts, lunches, and snacks... Everything was made and ready to heat & eat." – Melodie C., Client
Caregivers can also prepare meals during their shifts, like starting a Crockpot or cooking proteins in bulk to use in salads, sandwiches, or grain bowls. They can even serve snacks or meals directly to you while you’re breastfeeding or caring for your baby, making those early days a little easier.
If hiring a caregiver isn’t an option, you can organize a meal train with friends and family. Websites like MealTrain.com or TakeThemAMeal.com make it easy to coordinate. You could also add grocery delivery gift cards to your baby registry for added convenience.
For families looking for professional support, services like Nestling connect you with vetted postpartum doulas and caregivers. These professionals not only help with meal prep but also provide lactation support, emotional care, and light household tasks, giving you the time and space to recover.
Conclusion
Meal prepping can be a game-changer for reducing postpartum stress. With a freezer full of ready-to-eat meals, you’ll spend less time worrying about what to cook and more time focusing on bonding with your baby, resting, and healing. Research shows that nearly 70% of new mothers appreciate having pre-made meals during those chaotic first weeks of recovery.
But this isn’t just about saving time - it’s about supporting your recovery in every way. Nutritious, prepped meals help replenish essential nutrients, balance hormones, and combat the mental fog that often comes with exhaustion. Families who meal prep tend to eat up to 50% more fruits and vegetables and save around 25% on food costs compared to relying on takeout during the postpartum period.
If meal prepping feels like too much to handle on your own, don’t hesitate to ask for help. Friends, family, or even professional caregivers can make a huge difference. Services like Nestling can connect you with postpartum doulas and caregivers who assist with meal prep, grocery shopping, and light household tasks - giving you the space to focus on recovery and your baby.
Whether you’re batch-cooking during pregnancy, organizing a meal train, or hiring someone to help stock your freezer, these steps can ease your transition into postpartum life. As Edie Horstman, Founder of Wellness with Edie, wisely says:
"Having meal prepped dishes will provide a sense of stability. (Just what the doctor ordered.)"
And that stability is exactly what every new parent needs during the whirlwind of the newborn stage.
FAQs
How many freezer meals should I prep before baby arrives?
Preparing 10 to 15 freezer meals before your baby arrives can be a game-changer. These meals can cover 2 to 4 weeks of quick, wholesome dinners during the postpartum period. It’s a simple way to cut down on stress and save precious time when life gets a little hectic.
What postpartum meals are best if I’m breastfeeding?
When you're breastfeeding, the meals you choose can make a big difference in your recovery, energy levels, and milk supply. The ideal postpartum meals are packed with nutrients, support lactation, and are simple to prepare or freeze for later.
Some great options include:
- Protein-packed foods like eggs, which are quick to cook and versatile.
- Broth-based soups and stews, offering hydration and essential nutrients.
- Casseroles, which are easy to freeze and reheat, saving time on busy days.
- Lactation snacks, such as lactation cookies, that help boost milk production while satisfying hunger.
These meals not only help with healing and energy but also fit seamlessly into the hectic schedule of new moms.
What’s the safest way to thaw and reheat frozen meals?
The best way to thaw frozen meals is by placing them in the refrigerator. This method allows for slow defrosting, which helps minimize the risk of harmful bacteria growing. Once your meal is fully thawed, make sure to reheat it properly. Aim for an internal temperature of at least 165°F (74°C) - whether you're using a microwave, oven, or stovetop.
Avoid leaving frozen meals out at room temperature to thaw. Doing so can create the perfect environment for bacteria to multiply, which could put food safety at risk.